

DIY: How to create your own gallery wall
Gallery walls are an easy way to add some personality and a splash of color to any room. I mean, who wouldn’t want to turn a blank wall into a beautiful collage of all your favorite art? Plus, many of you have your gorgeous Creatively paintings lying around and aren’t sure what to do with them. Hanging them on your gallery wall is a great way to be reminded of your creative journey.
But we know what you’re thinking: gallery walls look amazing, but are really, really intimidating. There are measurements to be made, frames to buy, and a lot of design involved… which is why we’ve made the whole process easy for you. Just follow this step-by-step guide, and you’ll be showing off your creations in no time!
Choose the type of gallery wall that best fits your space
There are three types of gallery walls that are most popular: linear, grid, and free form (our favorite!)
Linear gallery
Linear gallery walls are pretty simple: you just hang your art in a straight, horizontal line. This type of gallery is perfect for a smaller space, such as right above your desk at home.
These five tips have the ability to completely turn your day around. Creating art can feel like an uphill battle sometimes, but we’re here to make it easier for you.

Grid gallery
A grid gallery is where your art hangs in an orderly square or rectangle and can be as large or as small as you want. Easy-peasy!

Free-form gallery
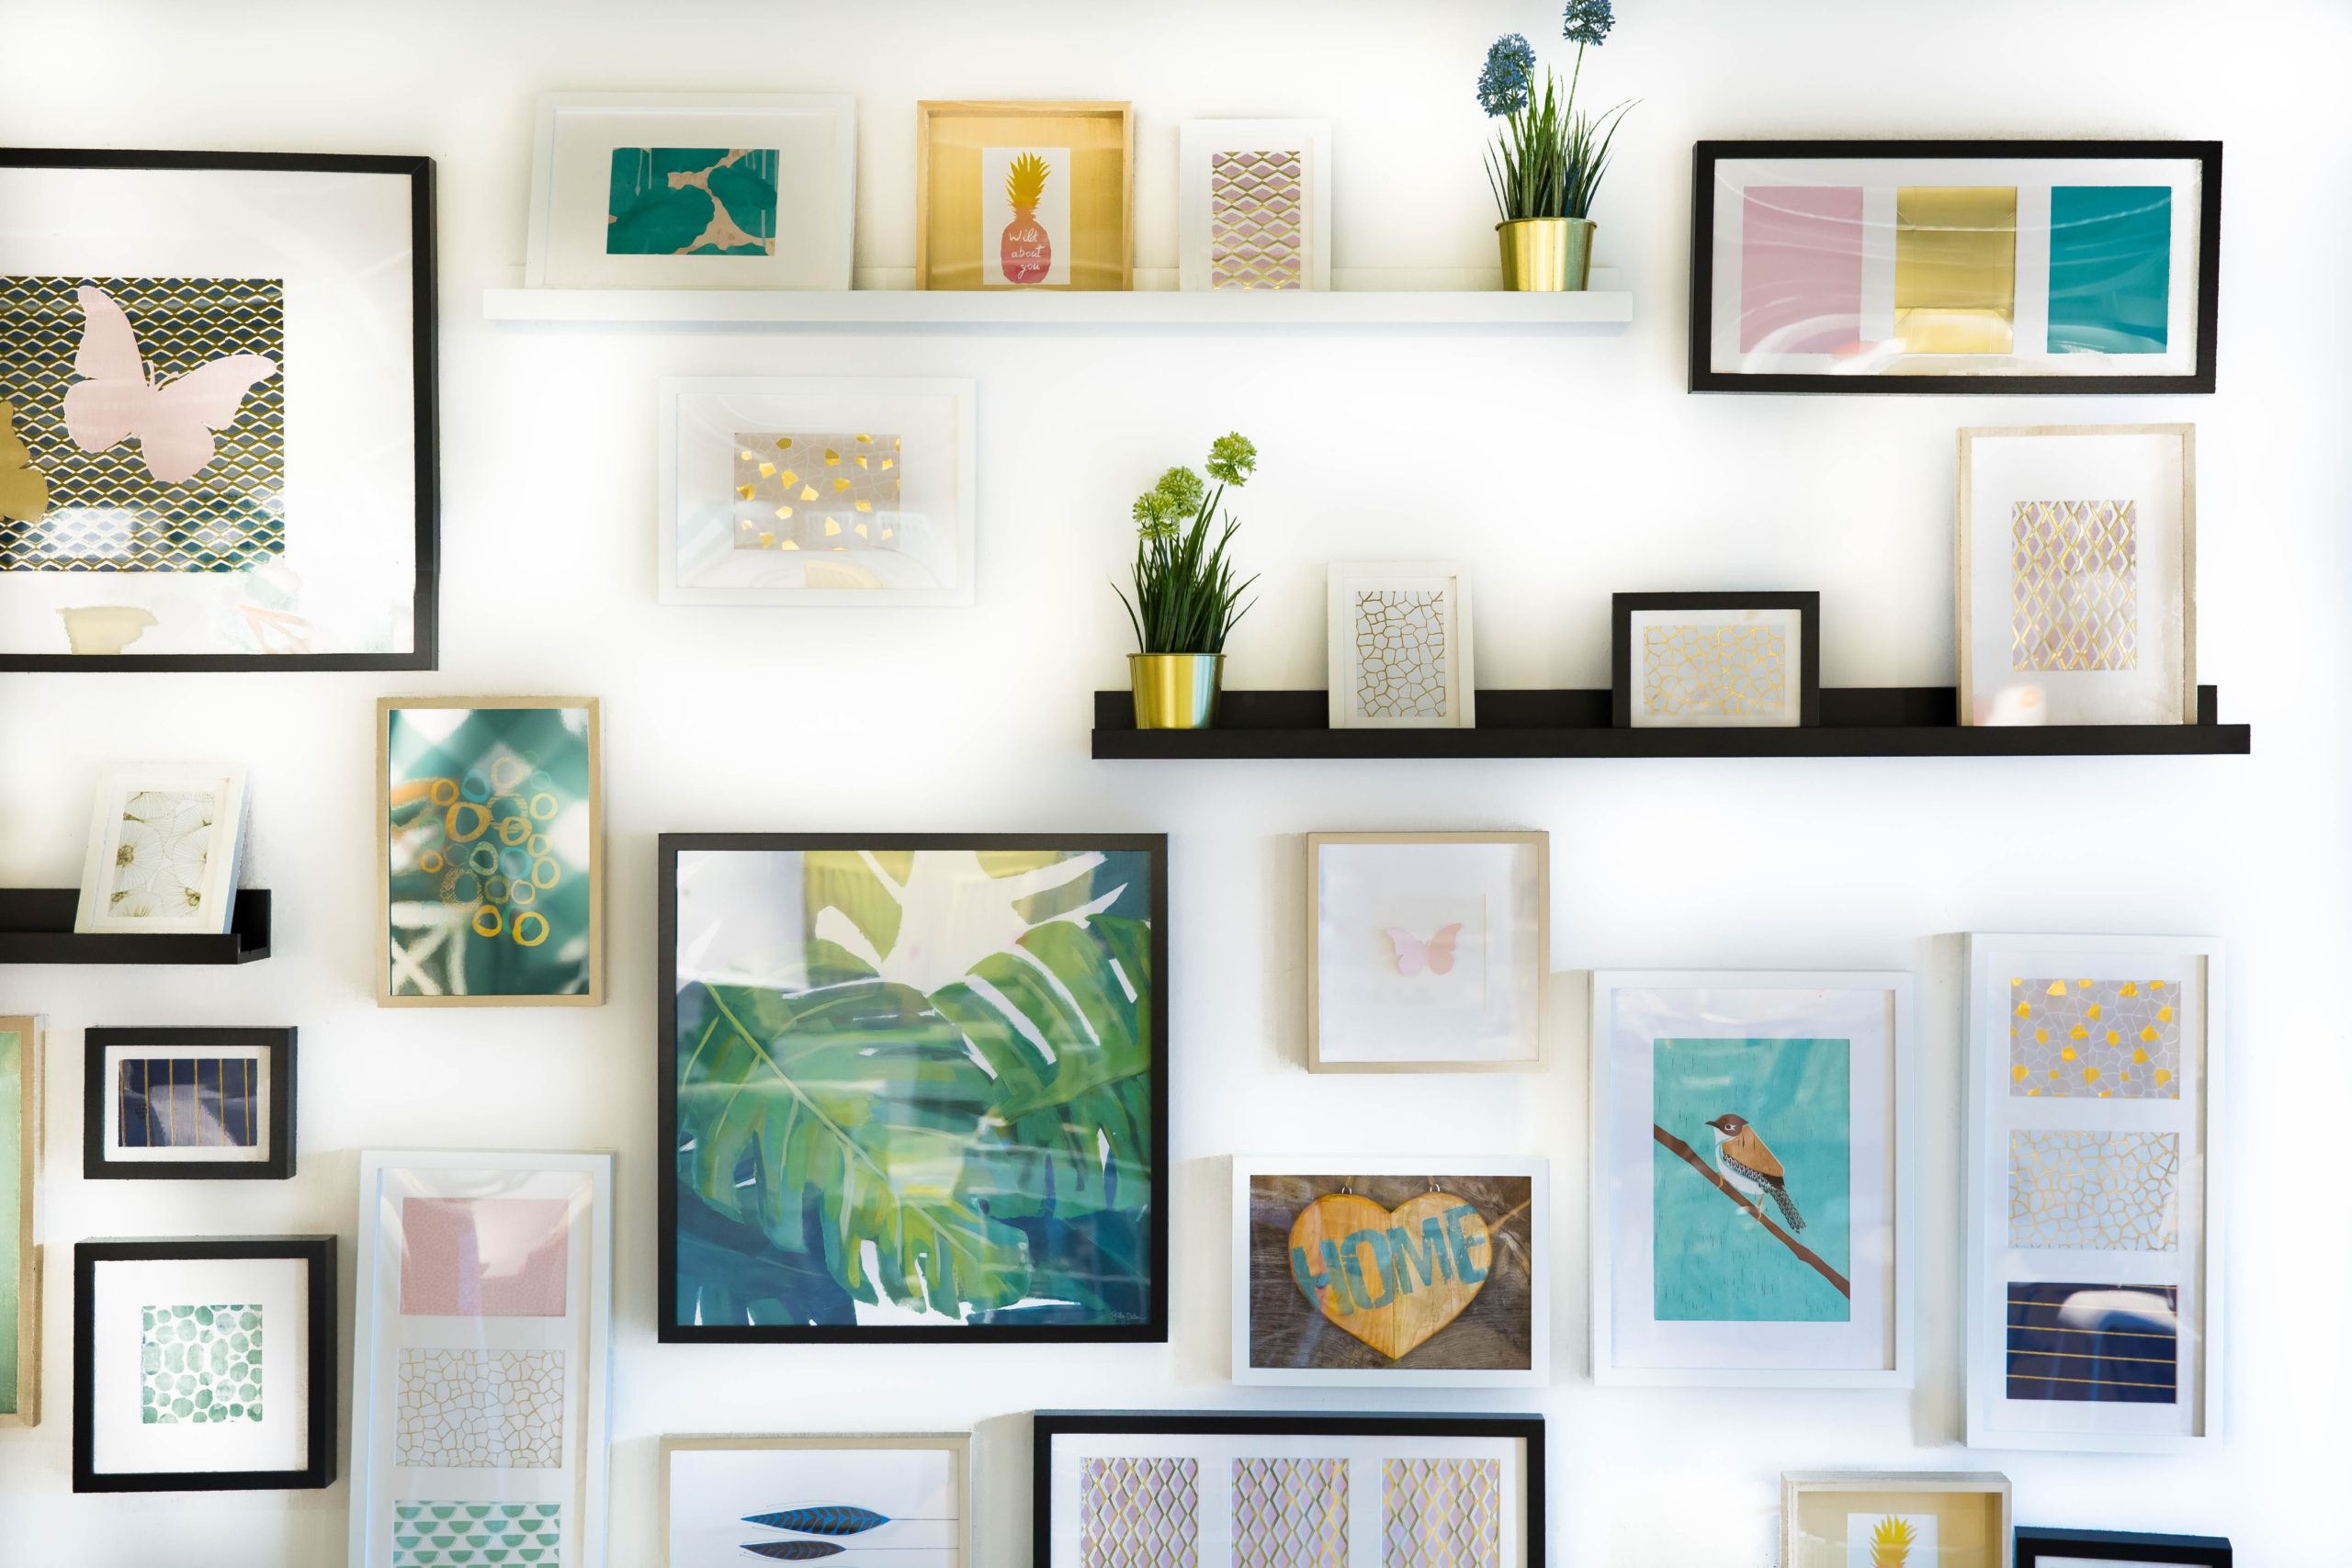
Free-form galleries are a little more fun and show a lot more personality. You can design your free-form gallery wall in any way you want, meaning you can choose a bunch of different sized art pieces, frames, and colors to add a little pizzazz to your wall. Free-form is usually used for larger spaces, that way you have plenty of space to be creative.

So, you know what type of gallery wall you want to create. Step one complete! But before you grab your hammer and nails, here are a few other things to think about:
- Theme: This is all about what you want to put on your wall, and how you want it to look. Do you want to feature certain colors or a specific concept? Is there one piece that you want people to notice right away? It sounds overwhelming, but choosing what to put on your wall is actually really simple. To create a good base for your wall, choose pieces that repeat the same colors 2 or 3 times, as well as pieces that vary in size. For example, if you have your When in Rome painting from Creatively, choose two other complementary art pieces with similar colors (such as Counting Stars or Dancing in the Moonlight).

- Sizing: Don’t be afraid to have different sized paintings or images in your free-form gallery. It helps make the wall look less uniform and more… well, free-form! Lastly, think about adding something personal to your wall. After all, anything can be art, and it’s your wall– so make it your own!
- Frames: Mix it up! Frames are a great way to add an extra layer of personality to your wall. If you want a sleek, modern look, you can use simple, black metal frames. Or, mix and match them (such as a light wood frame paired with a few white frames) to add some variation to the room.
- Speaking of rooms… What room do you want your gallery wall in? This is super important, because how large your wall is (and where) determines how big your gallery wall can be. The larger the gallery wall, the more pieces you can use. But, a smaller wall makes each piece stand out more. Use whichever method fits your space (and your vision) best!
Okay, you have everything planned out… in your head. Now it’s time to turn your idea into reality.
How to plan Your gallery wall: grab your measuring tape!
First things first: grab a pencil, some paper (preferably a roll of paper, such as wrapping paper or craft paper), a measuring tape, and a pair of helping hands if available! Once you have your equipment ready, you can dive into one of two methods to planning out your gallery wall.
Method 1: On the floor
Measure the size of your future gallery wall, and clear a same-sized space out on your floor. (This basically turns your floor into your wall, and lets you easily move things around without making any commitments.) Next, lay down your wall art in whichever layout you liked best, and tweak it to perfection!
Once you’re happy with the placement of everything, take note of where each piece is (such as how far away one piece is from another piece).
Method 2: On the wall
Measure and cut out pieces of paper into the size of your desired wall art. Using painter’s tape, place the paper cut-outs onto your wall in whatever design you’ve chosen (linear, gallery, or free-form). Lastly, move the pieces around until everything is perfectly in place.

Hanging your gallery wall:
You’re more than half-way done with creating your gallery wall! Just a few more steps, and you’ll be patting yourself on the back for all your good work. Here’s how to hang your gallery wall:
- Grab your pencil again. This will help you easily make changes without leaving any permanent markings on your wall.
- Find where the hook is in your frame, and measure how far it is from the edge of the frame.
- If using the on the floor method: Take your largest piece and hold it up to your wall (using the measuring tape and your notes to make sure it’s in the right spot!) Then, lightly draw a line where the top of the frame is. Put down your frame, measure where the hook will be on your wall, and make a small dot.
- If you used the on the wall method: Measure where your hook will be and draw a small dot onto your paper.
*Pro-tip: Never be afraid to take a step back and look at the placement of your art– it’s better to tweak your design to perfection than it is to go for it and make a hole in your wall that you’ll later regret.
- Once your placement is perfect, hammer your nail right on that dot. Boom! You can now hang your first piece of art.
- Repeat the steps above until all of your artwork is on the wall and to your liking. We told you this was easy!
Now what?
Enjoy your new gallery wall. But don’t forget that you can keep adding to your wall as you create more art. Every time you finish your new Creatively painting..add it to the wall! Plus, mix up your gallery pieces with new ones whenever you want. The wall is your oyster.
Love how your gallery wall turned out? Show it off! Use hashtag #creativelybox on Facebook and Instagram for a chance to be featured.
Plus, if you have any handy tips we didn’t think of, comment them down below.
Stay fearless.
Leave a comment: